
Facebook Pages, in Facebook’s own words, “give a voice to any brand, business, or organization to join the conversation with Facebook users.” To engage on Facebook as a brand or business, you need a Page. As Facebook puts it, “Everything you do on Facebook starts with your Page”.
Once you’ve created your page, you’re ready to configure it. That means getting a profile picture, a cover, and a vanity URL. It also means filling out your about page and tweaking your Page settings.
You can do most of this in your page settings, which you access by clicking “Update Info” in the Edit Page menu.
1. Create Your Page
Go to facebook.com/pages and click “Create Page” in the upper right hand corner.
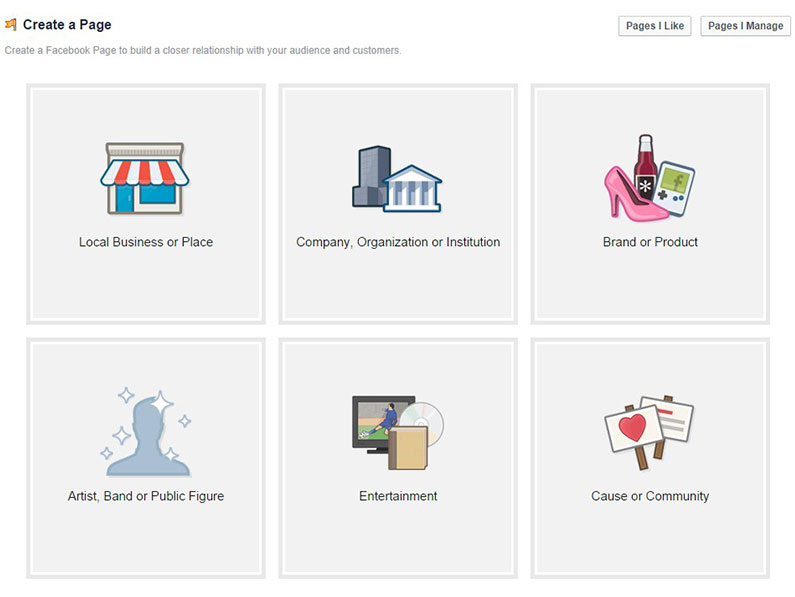
The next screen asks you to select a category from the following list:
Local Business or Place
Company, Organization or Institution
Brand or Product
Artist, Band or Public Figure
Entertainment
Cause or Community
2. Fill In Information
Once you select the category for your business, you can fill in the name, address and phone number. Check the box next to “I agree to Facebook Pages Terms” and click “Get Started.”
3. Add a Photo
What we first see of a person or brand has a lasting impact.
Images have become increasingly important for engaging online, as the rise of sites such as Pinterest and Instagram demonstrates. Your prospects and clients care about how your business looks, even if you’re not a designer or artist.
Upload a picture for your page. It can be a logo, a photo of a store or a photo of a person — whatever makes the most sense for building your brand. The file needs to be smaller than 4MB, and it can be square or a vertical rectangle. However, note that the avatar that shows up next to status updates and wall posts is square, so if you don’t want anything chopped off, the square might be the way to go.
Your Facebook Cover
While your profile picture shows off you as a person, your cover photo reveals your business as a brand. Your cover is your opportunity to give new visitors to your page a wow moment and to build brand recognition.
4. Suggest Your Page to Friends
After your Page is ready, you can start building a fan base and posting updates.
Get your Page started off with some “likes” by recruiting your own friends. Start typing in names and when you drag the cursor over someone’s name, it will highlight in blue. Click once to check the person and add them to your invite. Click “Selected” to see who’s on your invite list. When you’re ready to invite, click “Send Recommendations.”
5. Import Contacts
Click on “Import Contacts” to reach out to your email contacts about your new Page. You can upload a file (Outlook, Constant Contact, .csv) or you can enter your email login info so Facebook can access people in your email contact list. Again, you can check the box next to the names you’d like to invite, and you can preview the invitation to see what it’ll look like. For people who are already on Facebook, they’ll get a “Recommended Pages” widget on their Facebook, while everyone else will get an email that looks like this:
6. Start Writing Content
Once you have a photo uploaded and have a few fans on board, you can start engaging.
For status updates, you can either share with everyone or you can target by location or by language. Targeting comes in handy if the Page is for a business with several locations in various states, especially if there is a contest, event or update that is only for a particular city.
Not tech-savvy? That’s not a problem — the process isn’t too technical. Here’s a step-by-step guide to help you initiate your Facebook Page creation.
Setting up a Facebook page is as simple as a few clicks of the mouse, so why not get started today?